General WordPress
Logging In
We recommend using Google login [if Google accounts are setup] to access the backend of your new site, but if you’d prefer to create a username and password, please feel free to do so.
Navigation & Menu Items
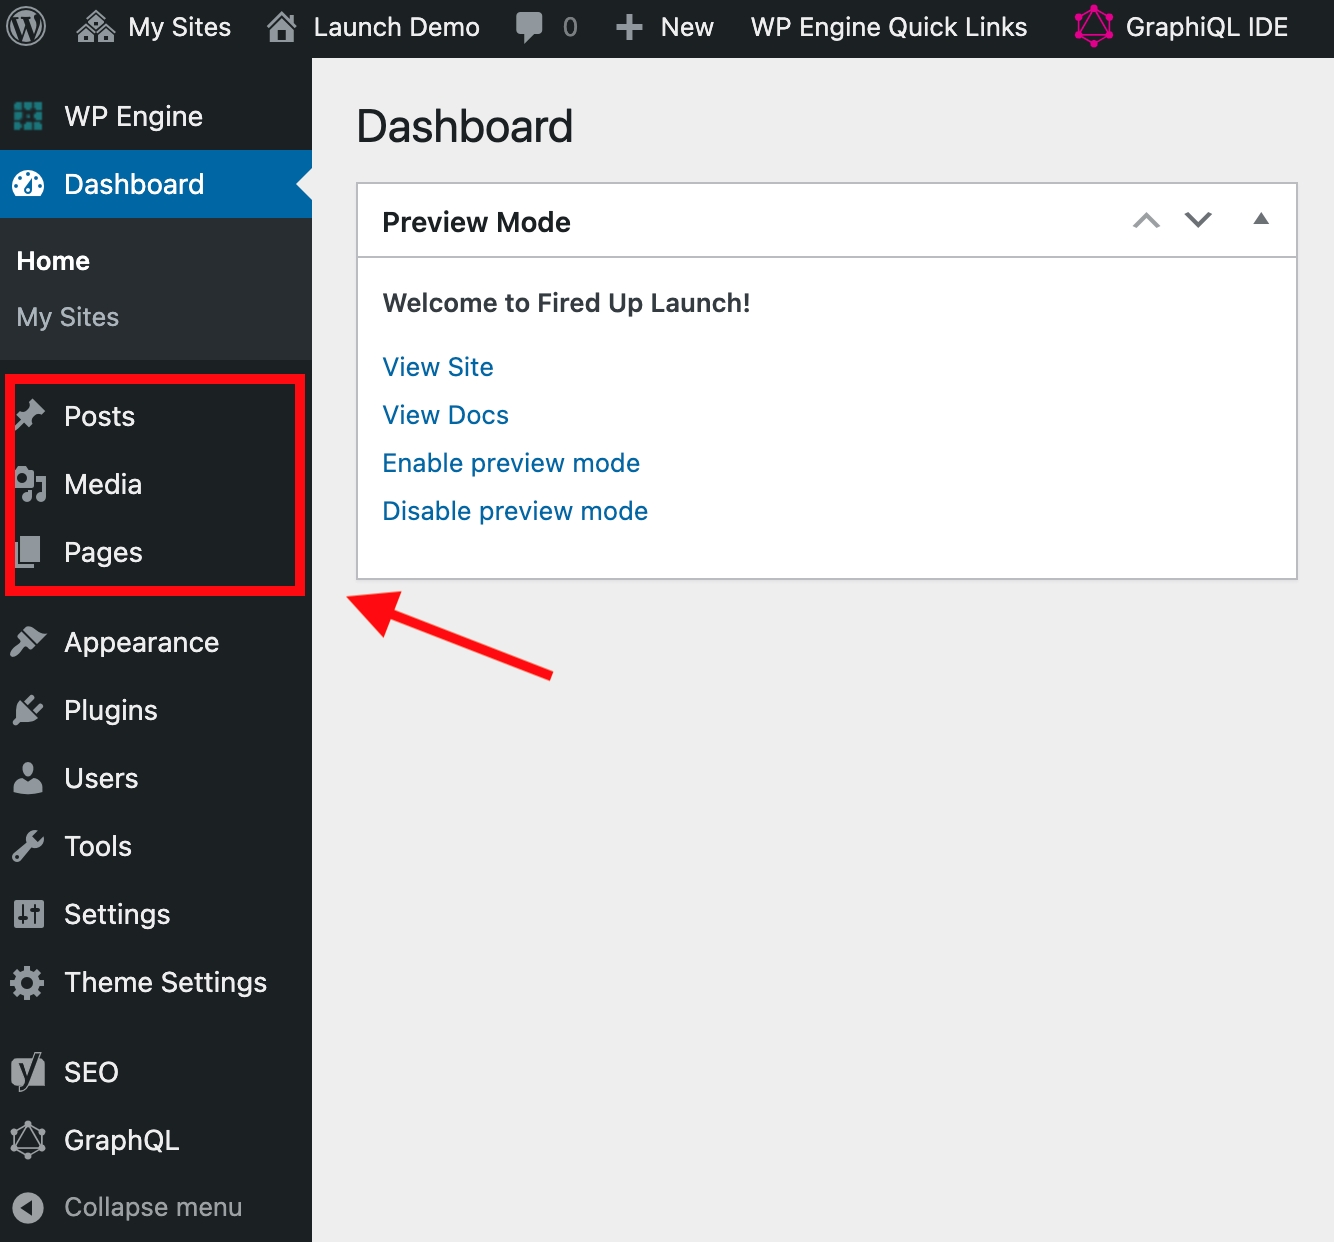
The left hand menu will be used for navigating the different components that make up your site. The most important and frequently used menu items will be Posts, Media and Pages.
Posts
Posts are typically content that you’ll want organized and hosted on a certain page. You can categorize and add tags to your posts which make it easy to curate through the Featured Content module by filtering by post type. An example of a post would be a news article, you can create posts for these and add a category of News for each post. You may then want to build a page that displays all news articles by post type.
Media
This is where you’ll upload any images, PDFs, etc that you want to include on your site’s pages. Each time you want to add a media item on a page it will pull up the media library to select from or give you the option to upload a new media item.
How to Upload Images
- Images: After selecting the media option in the menu, you should see your media library which includes and displays all files that have been uploaded. Select Add New and either upload the image or drag from your files to add to your media library.
- PDFs: You can also upload PDFs to your media library in the case that you’d like to have a user download or view a document from your site. Some modules only allow images vs those that have links or buttons that can include a file URL.
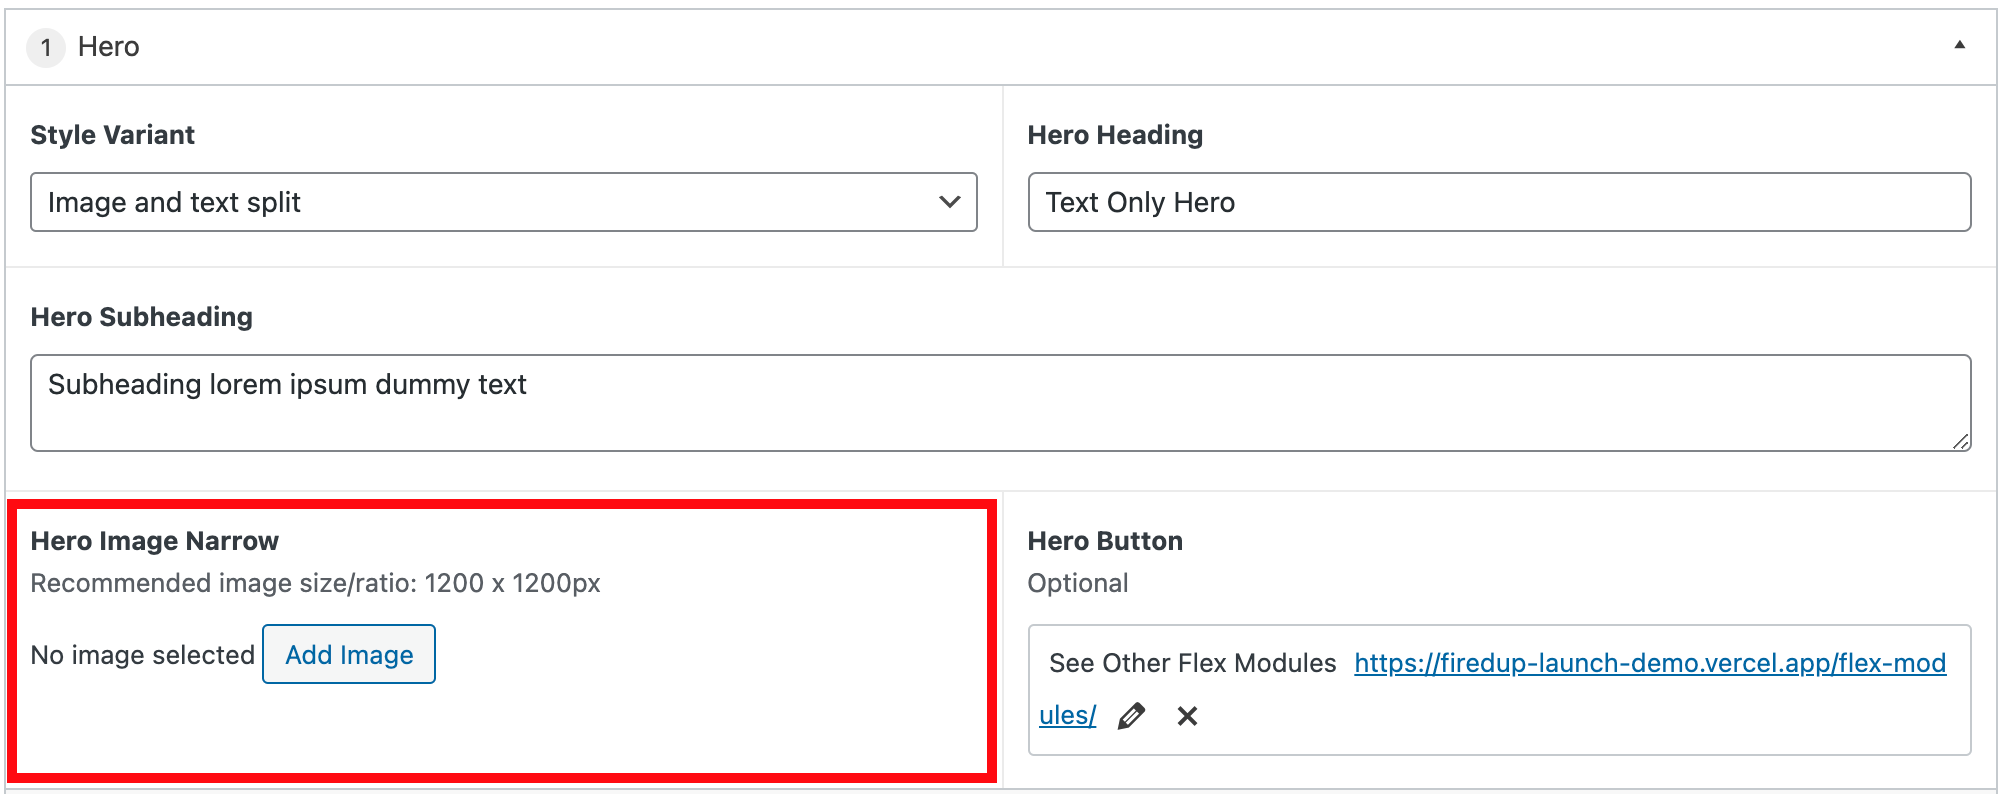
- To note: Most flex modules will display the recommended dimensions for the photo you plan to add. We suggest reviewing the recommended dimensions in the flex module before uploading the new media item you plan to use so you don’t end up uploading the wrong size. Each flex module may have different dimension recommendations.
Pages
These are the pages that make up your site! This is where you’ll go to add new site content or update existing content. Example pages for your site could be, Homepage, About, Careers, Our Work, etc. You’ll learn more about how to build these pages here.
Appearance & Menus
If you hover over Appearance in the menu, you’ll see that there are three options that are available. The main place you’ll be working is Menus, this is where you’ll build and update your website’s navigation.
Select Menus to edit your global header and footer navigation. You’ll see a dropdown at the top of the page that will allow you to select the nav menu to edit.
Adding Pages to Navigation
- Once you’ve selected the nav menu you’d like to edit, you’ll see the option to add menu items and the menu structure. Under Add menu items, expand the Pages tab to access all the pages you’ve built. Select the checkbox for the page or pages you’d like to add and then hit the Add to Menu button. You should then see those pages appear in the Menu Structure.
- If you’d like to rearrange the pages in the nav to be in a certain order, simply select and drag the items in the order you’d like. When you’re happy with the menu, submit the Save Menu button to save your changes and see the new navigation live on your site.
- There may be a need for sub pages in your navigation as well. This would allow you to include pages under the Parent menu item as a dropdown, giving you the option to keep you navigation organized while listing several pages. For example, you may have About as a top menu page, but you’d like to include the Team and Careers, simply add the page and drag it to the right until you see the the dotted outline to drop. You’ll then see the page added as a sub item.
Navigation Labels
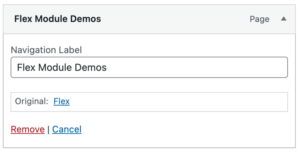
There may be a time when you don’t want the name of the page included in your navigation to be what users see on the frontend. For example: You’ve built a page titled Our Company History, but it’s a bit long to include in the header navigation along with the other menu items you need to include so you’d like to shorten it to About. In the menu structure, expand the page you’d like to update and simply change the Navigation Label and hit Save. Don’t worry, the page name won’t actually change it is only a visual change for the user.
Custom Links
Custom links gives you the option to:
- Add a menu item that jumps to a certain section on one of your pages. You might want a user to easily reach an important part of the page without having to scroll all the way through.
- Add custom menu items that link to an external site.
To add a link to an external site, select the Custom Links dropdown and enter the URL in the URL field and the text you’d like to appear on the menu in the Link Text field. Select Add to Menu and drag the item where you’d like it to appear in order with other menu items. Don’t forget to select Save Menu after the changes are made.
Theme Settings
Theme settings are where you can edit your Global Variables. These are options that exist on every page on your website and remain the same unless changed. Examples of global variables could be Footer text which may include copyright language or an action you want viewers to take on every page. This could be a signup or a callout for an important update.
Yoast/SEO
On every page you build you’ll have a Yoast SEO section under all your flex modules. This is a plugin that can improve your website’s ranking and appearance on search engines. Most of the work needed is automated but there are some fields that will need your input.
Meta Description: You’ll want to include a description of your organization or page that gives the user some information when the URL is shared or your website is searched.
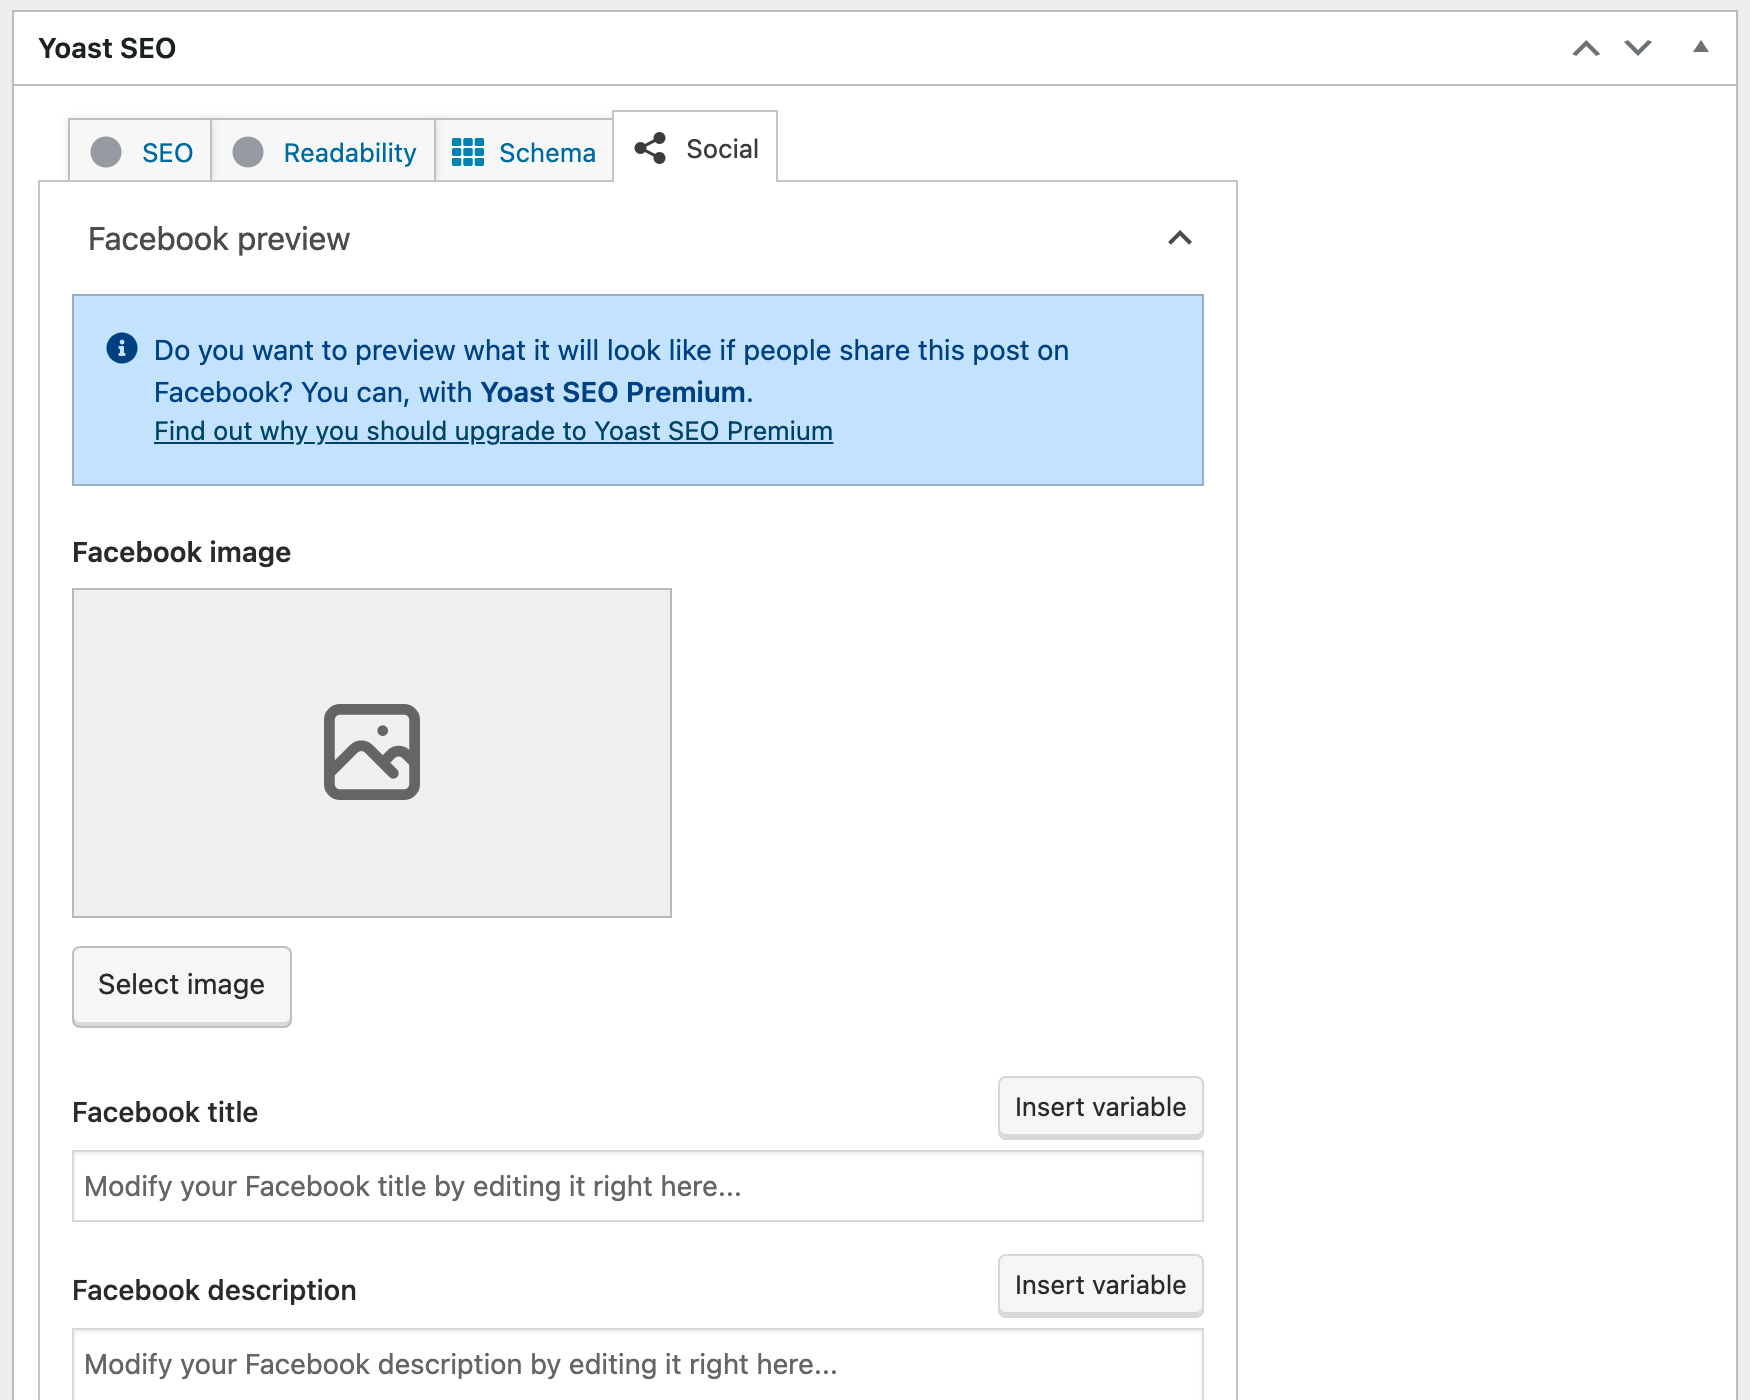
Social: You have the option to add images for Facebook and Twitter previews as well as a title and description that will be included when shared on the social platforms.
